Why AI Edits Get Blurrier (and 3 Fixes)
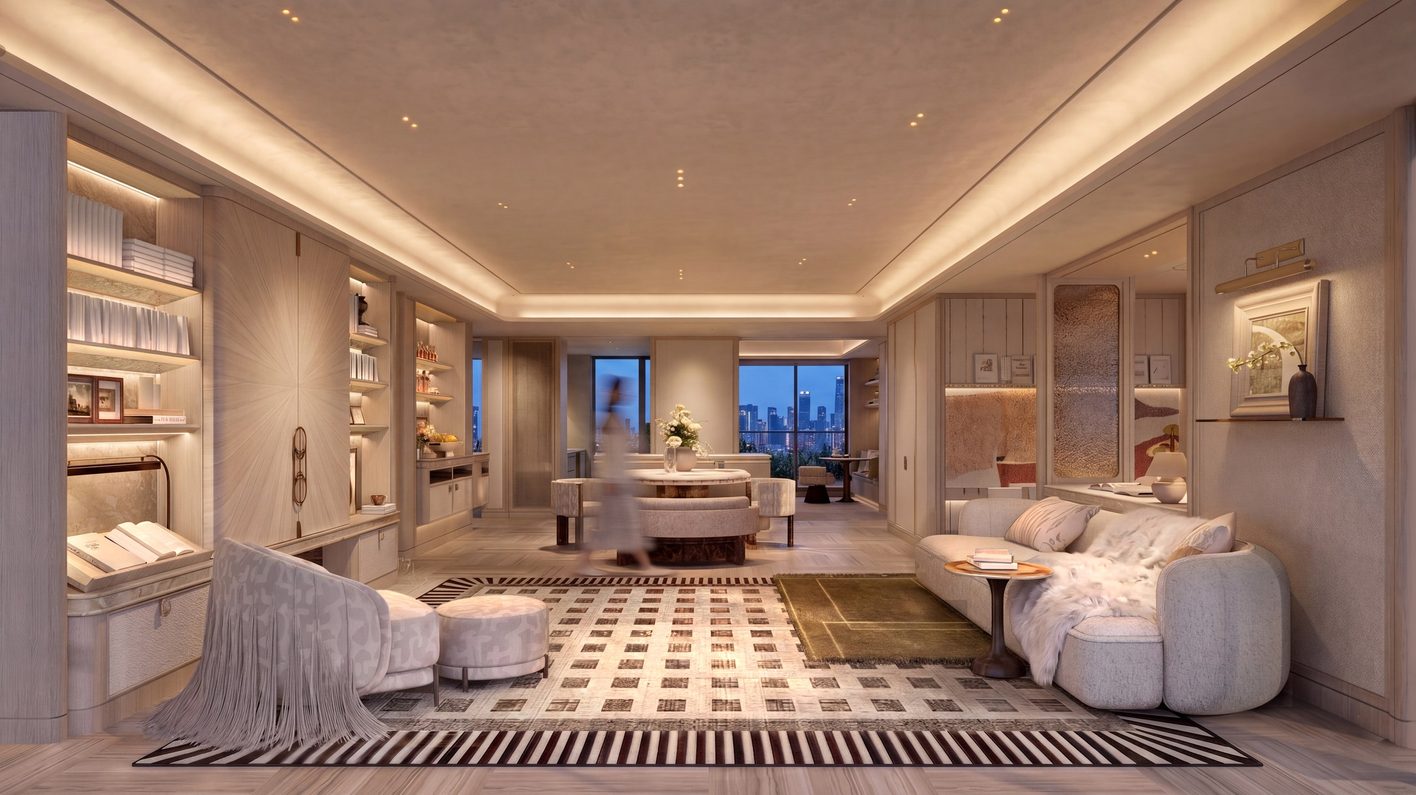
You know the feeling. The AI night render is 90% right. One spot bothers you. You ask for a change — and the building warps, the materials drift, and the image comes back softer than before. By the third revision it is no longer your picture.
It is not that you are using the tool wrong. Here is what is actually happening, and three ways to take control.
The truth: AI “editing” is not editing
A lot of AI image tools advertise “edit exactly where you point.” Here is the honest version: every time you ask for a change, the model regenerates the entire image. You think you are adjusting one light. The whole frame is being repainted.
So each revision drifts a little further from your original daytime photo. Window mullions, stone texture, cornice lines that survived the first generation slip out of alignment in the second and third. Blurrier with every edit is how this generation of models works. It is not your fault, and it is not one vendor’s fault — LDR regenerates under the hood too. The difference is whether the tool hands you a way to pin things down.
So how do you control it? One sentence: give the model a reference. Whatever is already drawn on the image, it is reluctant to move.
Fix 1: mark the fixture positions on the daytime photo before you render
Downlights in the ceiling, in-ground uplights along the facade, handrail lights, garden bollards — draw their positions on the daytime image first. Where you draw, the light appears.
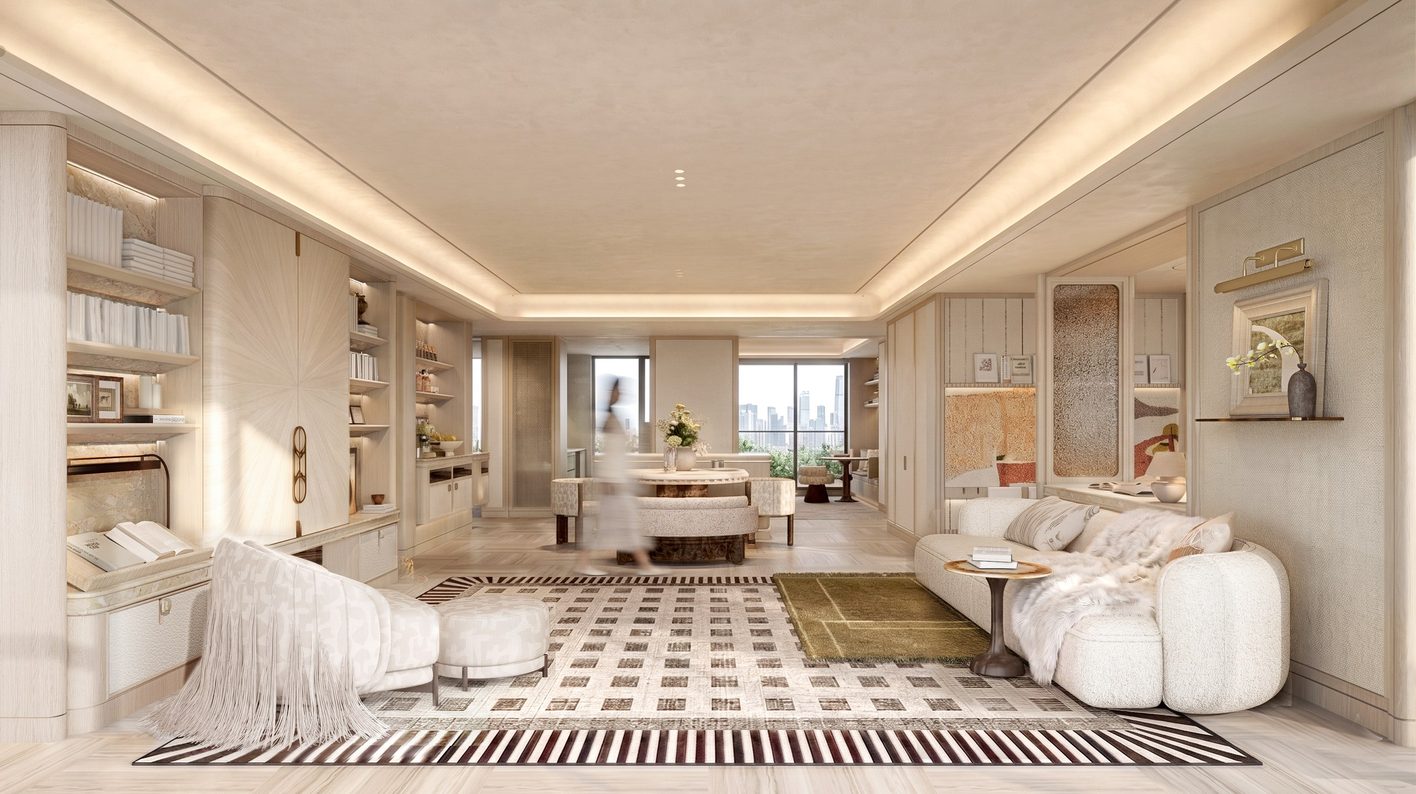
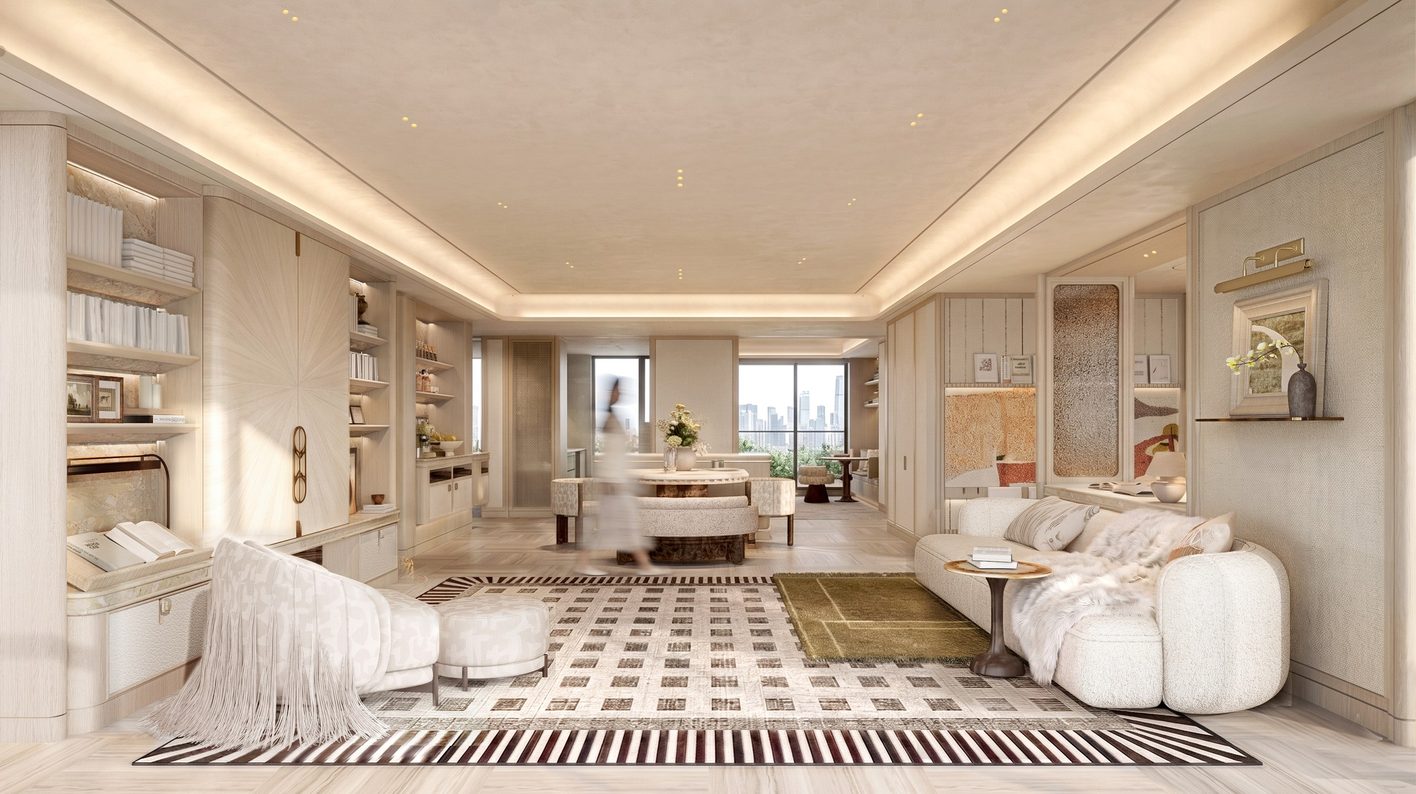
One step further: draw the colour right, too. If you want a lake-blue linear light, draw a lake-blue line on the daytime photo — not a white one. When the image says white and the prompt says blue, the model has to guess, and that guess is where hallucinations come from. When the image and the prompt agree, there is only one answer available.
And one more safety: write it into the prompt — “do not move any fixture positions.” When a render comes back wrong, nine times out of ten the problem is not that you asked for too little. It is that you forbade too little.
Fix 2: three ways to annotate on the LDR canvas
Marking positions settles where the lights are. To say what they should look like or which technique to use, use the LDR canvas. Three moves:
Move 1 — pure image reference. Found a night scene you like, a particular fixture, a lighting technique? Screenshot it, drop it on the canvas, and draw a line to the spot on the daytime photo where it belongs. Three or four references at once is the practical limit; the model renders in their likeness.
Move 2 — image plus text. Bring the screenshot in, box the part you actually want, and add one line of text. The model reads the words, looks at the crop, and applies it where you pointed.
Move 3 — annotate directly. Box the building, the landscape, the sculpture on the daytime photo and write: what fixture, aiming which way, what colour temperature, what effect.
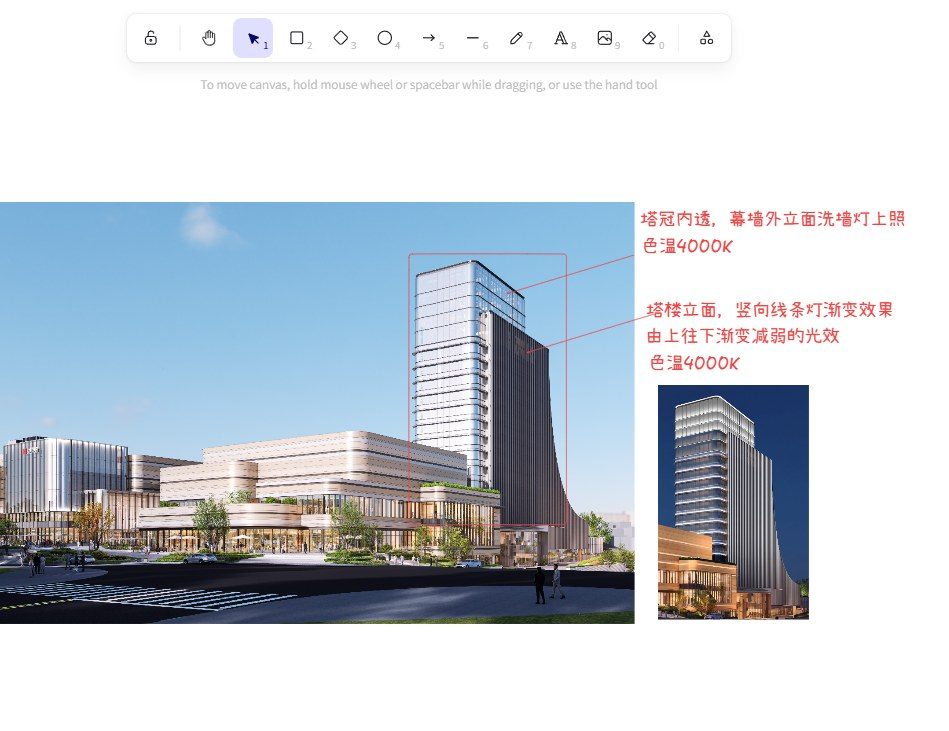
All three come back to the same sentence: give the model a reference. The more specific the reference, the less room it has to wander.
Fix 3: stop at 90 and change the workflow
The honest workflow-level truth: a single AI generation tops out at 80–90 points out of 100.
| Approach | Where it gets you |
|---|---|
| Prompt only (written properly — see the 4-part prompt structure) | 60 |
| + control techniques (marked positions, canvas annotation) | 80–90 |
| + colour channel map, cut-outs, Photoshop compositing | deliverable |
Do not fight for the last ten points. Generate several versions, take the best region from each, use LDR’s colour channel map to select those regions in one click, and composite in Photoshop. A 90-point render plus ten minutes in Photoshop beats twenty rounds of AI revisions — faster, and far more precise.
That is also the honest answer to “can AI replace rendering?” It replaces about 90% of the labour. The last 10% is still human judgement and a human hand. Professionals do not wrestle with the model. They change the workflow.
And if you would rather not mark positions or write prompts at all, there is a third path: upload the daytime photo and let the Chat Agent write the lighting scheme before it renders — that is the other half of this series.
FAQ
Why do other AI tools get blurrier too? Same mechanism. Current generative models cannot “touch only one spot”; every edit is a full resample. What differs between tools is whether they give you anchors — position marks, reference images, annotations, negative constraints — so that the parts that should stay still actually stay still.
How detailed should the position marks be? Positions, not effects. A dot for a downlight, a line for a linear fixture, a small square for an in-ground uplight. The marks tell the model where light comes from; the prompt and references decide what it looks like.
How many reference images can I put on the canvas? Three or four. Beyond that the references start competing and the result gets muddier. One reference per clearly defined zone is the most reliable pattern.
What is the colour channel map? Alongside the night render, LDR outputs a second image with each material or zone filled in a flat colour. In Photoshop, the magic wand selects a whole region with one click — no manual masking. It is the key tool for compositing several generations into one deliverable.
Do I need to know how to write prompts first? No. Position marks and the canvas are visual; the only prompt line you need is “do not move any fixture positions.” If you want to write professional prompts as well, read the 4-part structure article.
Try it on your own project
Open LDR and claim 5 free credits (plus one free generation every day after that — credits never expire). Pick one of your own daytime photos. Generate once with nothing marked, then mark the fixture positions and generate again. Put the two side by side and look at where the light falls.