AI Night Rendering Without Writing a Prompt
If you work in lighting design or architecture, you know the arithmetic. Outsourcing a single night rendering runs into the hundreds of dollars and takes three to five days once revisions are counted. Doing it yourself is not obviously cheaper: a beginner needs two full days in Photoshop, and even an experienced designer needs half a day. Money goes into renderings before the project is won — a cost the industry has accepted for so long that few people still ask why it has to be this way.
Why general-purpose AI gets night scenes wrong
The obvious response is to reach for a general image model. Anyone who has tried knows how that goes: general models produce pretty pictures, not professional ones. They trace the building outline with contour strips — the single most amateur move in real lighting practice. They flood the whole facade at uniform brightness with no hierarchy. They paint everything at one colour temperature. It looks impressive to a layperson and instantly fake to anyone in the industry, because these models learned what a nice photograph looks like, not how lighting design works.
A night rendering is not a matter of “adding lights.” It is a lighting scheme: which fixture goes on which element, aimed in which direction, at what colour temperature, in what order of brightness — and, just as importantly, what stays dark. That is design judgement, and a general model does not have any.
The prompt was the bottleneck, so we removed it
We have written before about how to write a good lighting prompt — colour temperature in Kelvin, fixture types, focal targets, brightness hierarchy. That guidance still holds, and it is exactly how LDR’s Rendering mode works when you want to control every detail yourself: the full four-part structure, with two complete project templates, is written out here.
But writing a good prompt assumes two things: that you already think in the vocabulary of lighting design, and that you are willing to spend a few minutes composing a description before you see anything. For a designer sketching options before a client meeting, that second assumption is the real friction.
LDR’s Chat Agent removes the step. Instead of asking you to describe the scheme, it writes the scheme — then renders it.
LDR: ten years of lighting design, built into an AI
LDR (ldr-design.com) was built by a lighting designer after a decade of real projects. What is encoded in the system is not generic aesthetics but professional practice: fixture placement patterns drawn from dozens of award-winning projects, colour temperature conventions, brightness hierarchy, and a list of hard negative constraints — no contour strips, no blown-out facades, no single-temperature washes.
Three steps:
- Upload a daytime photo — a building, a landscape, a retail street, an interior. A site photograph or a daytime rendering both work.
- The AI reads the image and writes the lighting scheme — it identifies the tower crown, the facade, the entrance, the planting, decides for each one what fixture, aimed which way, at what colour temperature, and ranks every element into a brightness order — from the visual focus down to the parts deliberately left dark.
- You review the scheme and confirm — about a minute later, the night render is ready.
No prompt writing at any point.
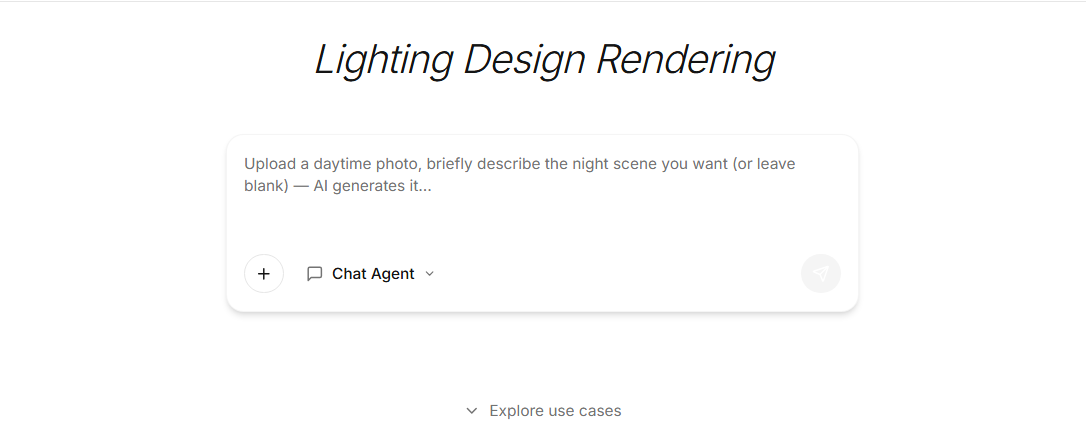
The box will take a description if you want to give one. Leaving it blank is the point — that is what Chat Agent mode is for.
Before and after: the same view, day and night
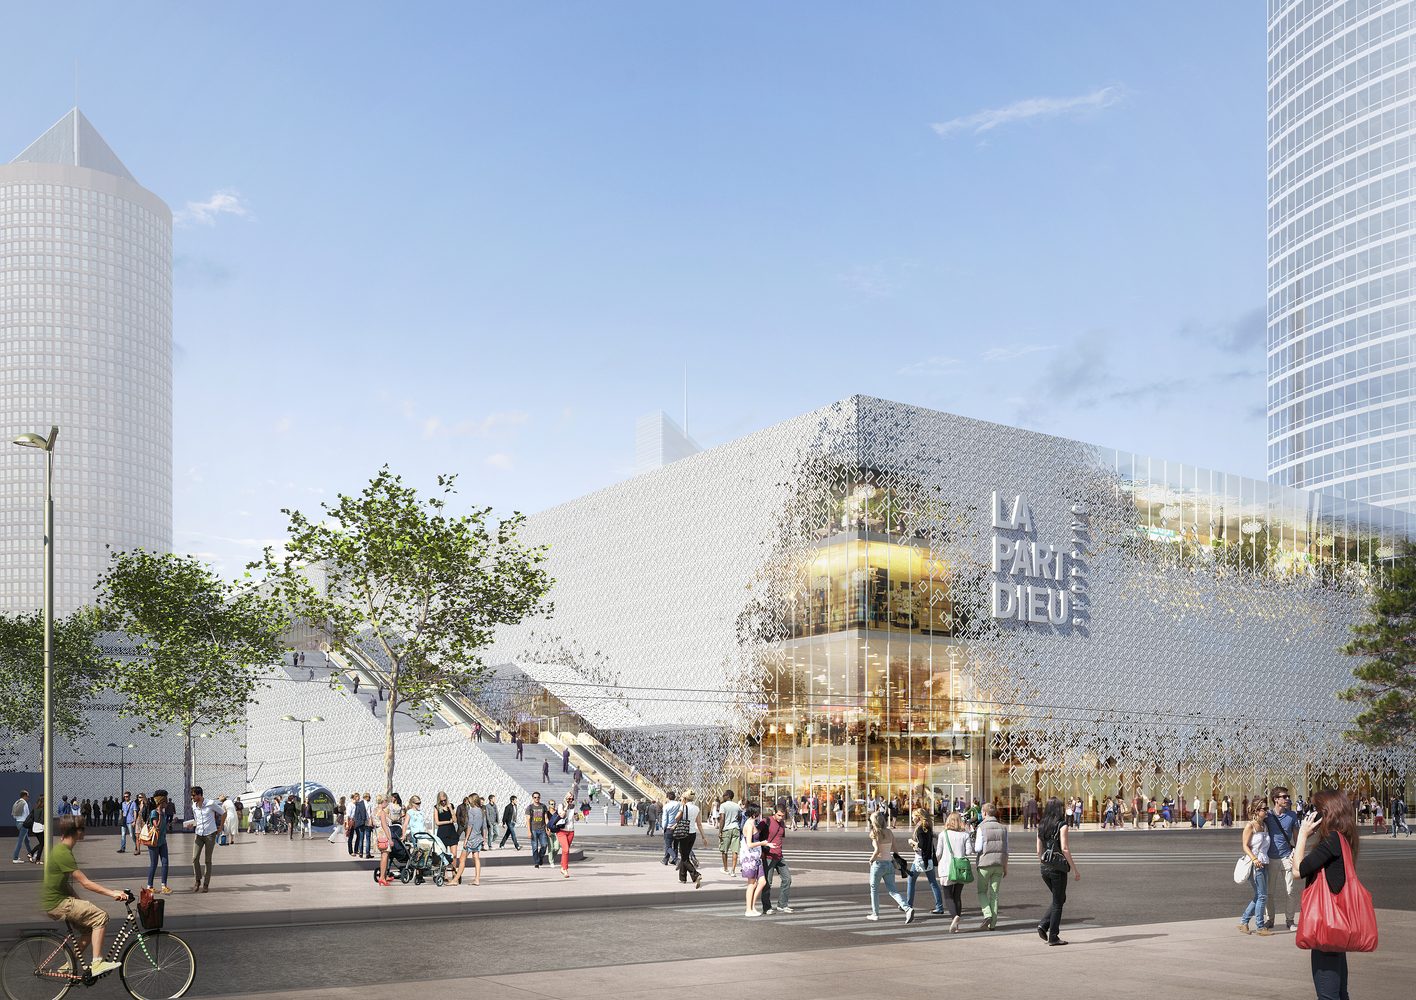
Night — generated by LDR from the image above. Same camera, same people, same hour of the composition; everything that changed is the light.
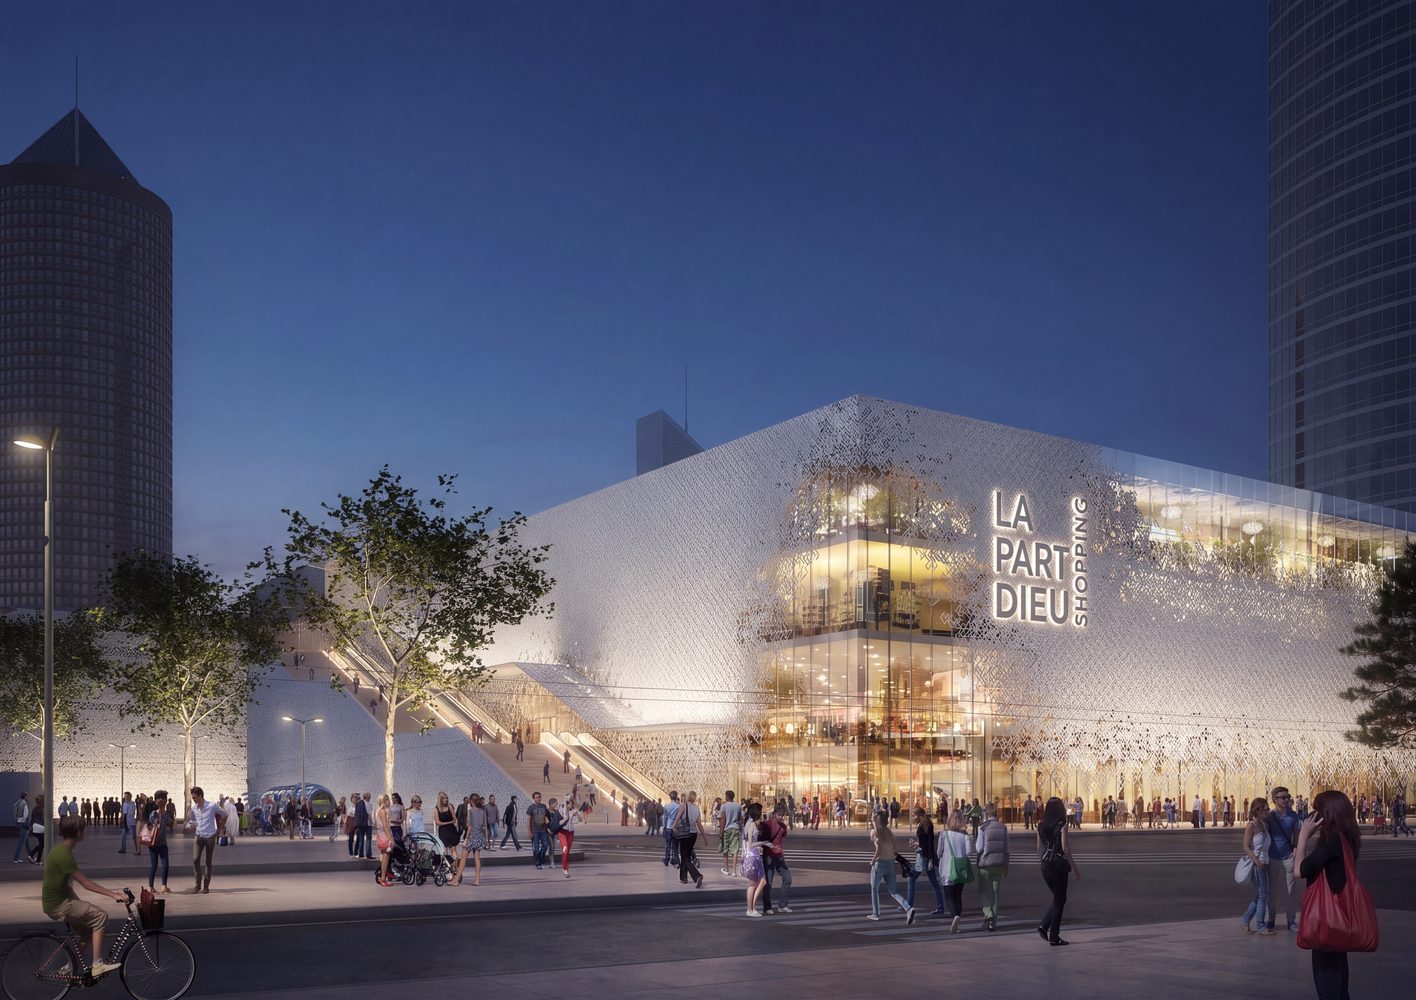
Look at what the render does rather than how bright it is. The perforated facade reads as a lit texture rather than a floodlit wall. The retail interiors glow through the glazing at slightly different colour temperatures, because real buildings at night never glow in one uniform colour. The entrance and the atrium are the brightest points, which is how you signal a way in. The towers behind stay dark, and so does most of the sky — restraint is the hardest habit for a general model to imitate, and one of the clearest markers of professional lighting work. None of this is a filter.
FAQ
What images are supported? Daytime photos of buildings, landscapes, retail streets, interiors, and cultural or tourism sites. Real photographs or daytime renderings both work.
How long does it take? About a minute in Chat Agent mode, because the scheme is written before anything is rendered. Rendering mode, where you supply the prompt yourself, returns an image in seconds.
Is it free to try? Signing up gives you 5 credits, plus one free generation every day after that. No credit card.
What if I want full manual control? Use Rendering mode and write the prompt yourself, down to the colour temperature of an individual element. The prompt template article gives you the structure and two real project prompts to copy. To pin down exactly where each fixture sits and what colour it is, see the position-marking and canvas techniques in Why AI Edits Get Blurrier.
How is this different from Midjourney? General models optimise for “pretty.” LDR follows lighting design logic — brightness hierarchy, zoned colour temperature, explicit negative constraints — so the output is something you can put in front of a client.
Is it accurate enough to specify fixtures from? No, and it is not meant to be. This is a concept and communication tool. Photometric validation still belongs in traditional rendering; we compared the two workflows here.
Try one image
Open LDR, take 5 free credits, and upload any daytime photo you have on hand. Judge the result yourself a minute later.